How the Pros Show Discounts on Product Pages in Shopify
The data is clear — discounts are one of the most effective ways to boost ecommerce sales:
- 94% of consumers look for discounts when shopping online
- 81% report that finding a discount is on their mind during the entire purchasing journey
- 80% are more likely to buy from a new brand for the first time if a discount is available
- 74% say that getting a good deal is one of the top factors they consider when deciding on where they will shop
- 62% won’t complete any online purchase without looking for a discount first
Indeed, every Shopify merchant should be displaying discounts on at least some of their product pages. In this guide, we’ll show you how.
Using Shopify to Show Discounts on Product Pages
To add a discount to one of your product pages with Shopify’s built-in customization options, follow these steps:
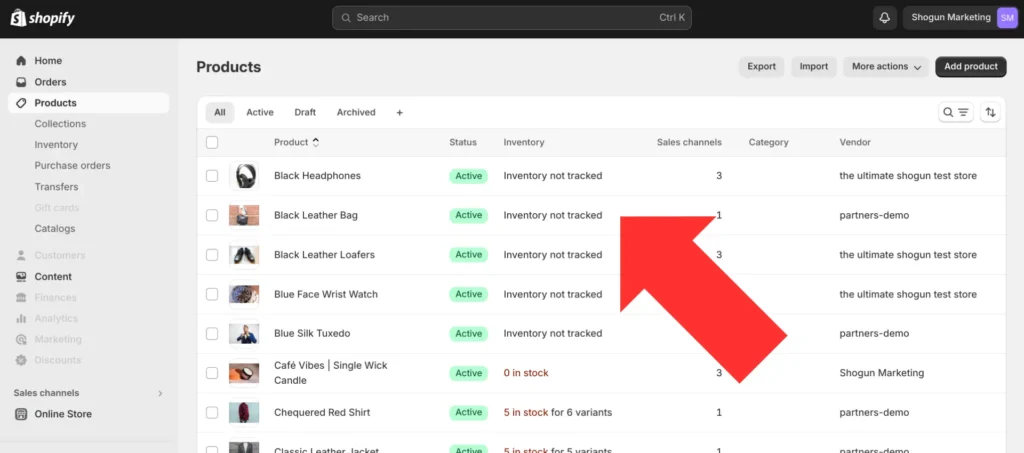
Step 1. After logging in to your Shopify account, select the “Products” option in the left sidebar.
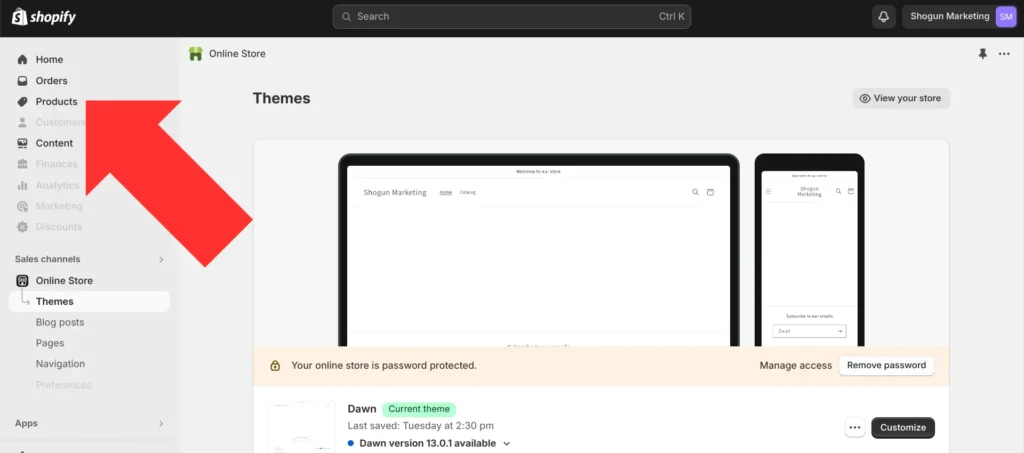
Step 2. Select the product that you would like to add a discount to.
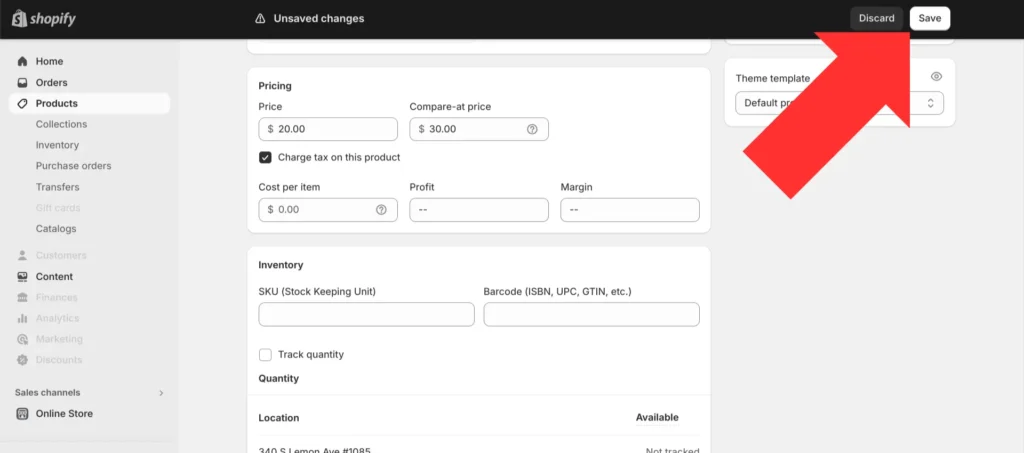
Step 3. Once you’ve selected a product, scroll down to the “Pricing” section. Enter the original price in the “Compare-at price” field, and enter your new sale price in the “Price” field. Then, save your changes.
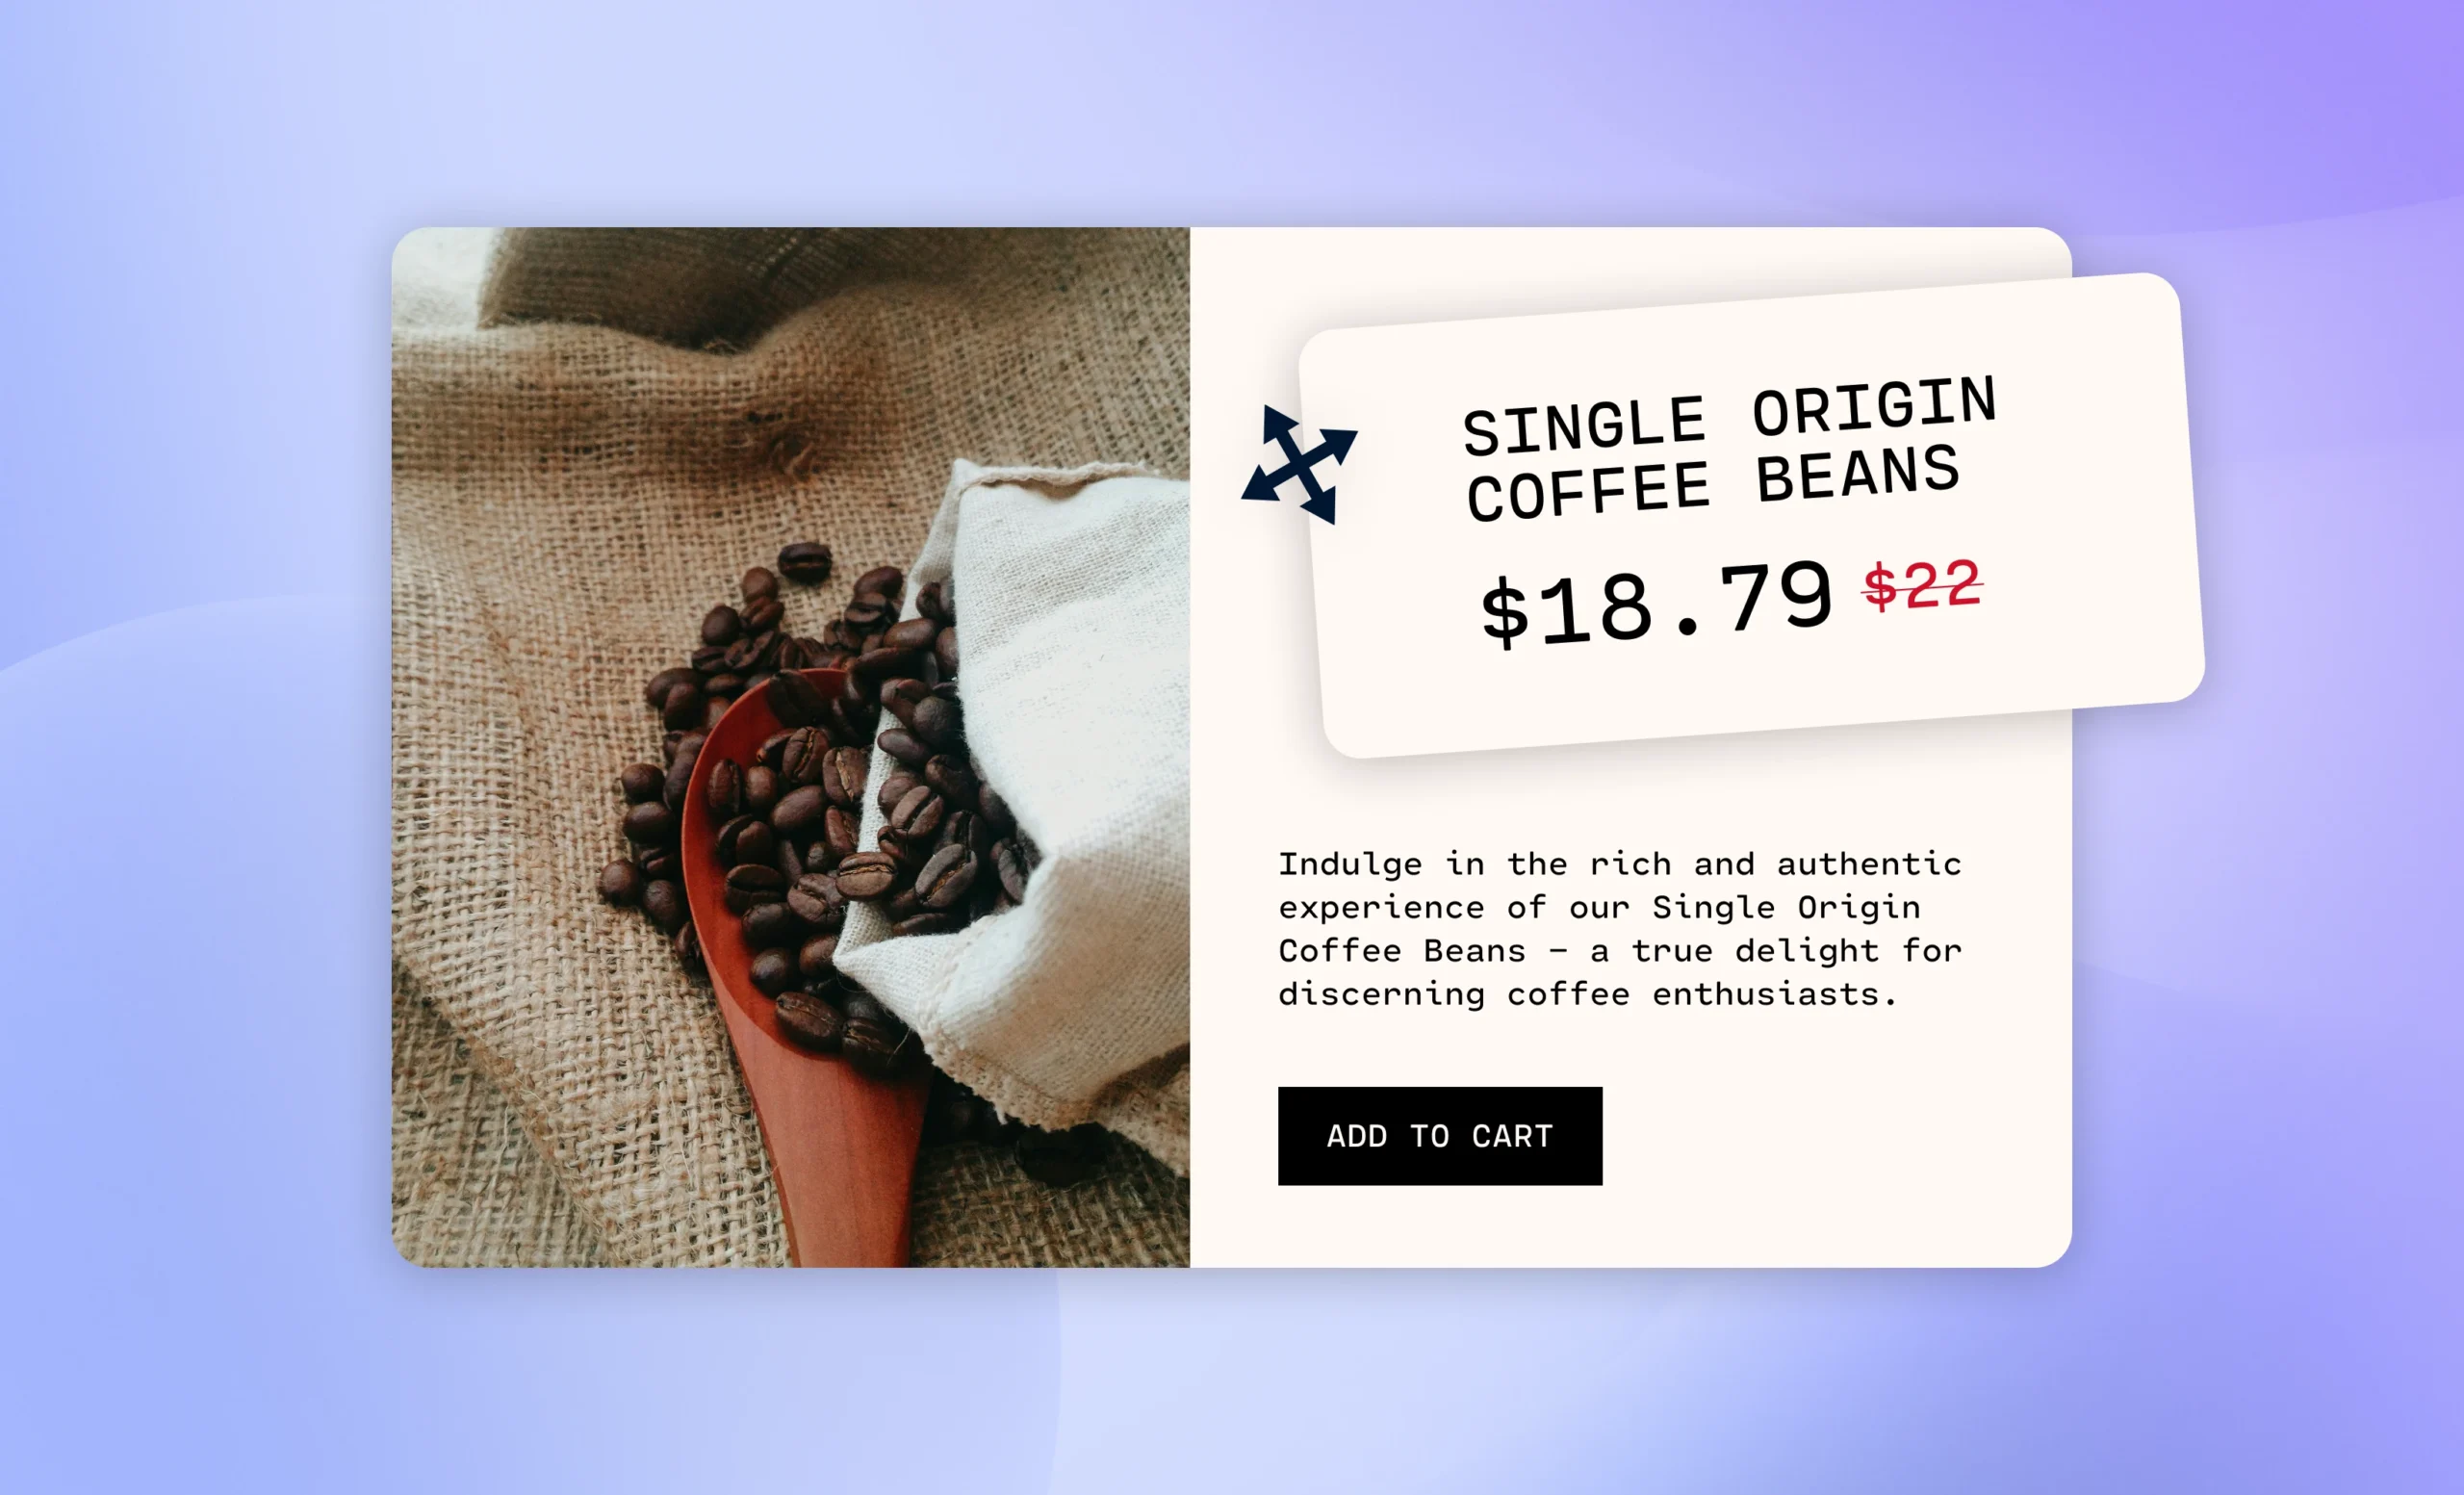
Step 4. You’ll now see the discount displayed on the live version of the page. The original price will be crossed out, and the new sale price will be shown next to it.
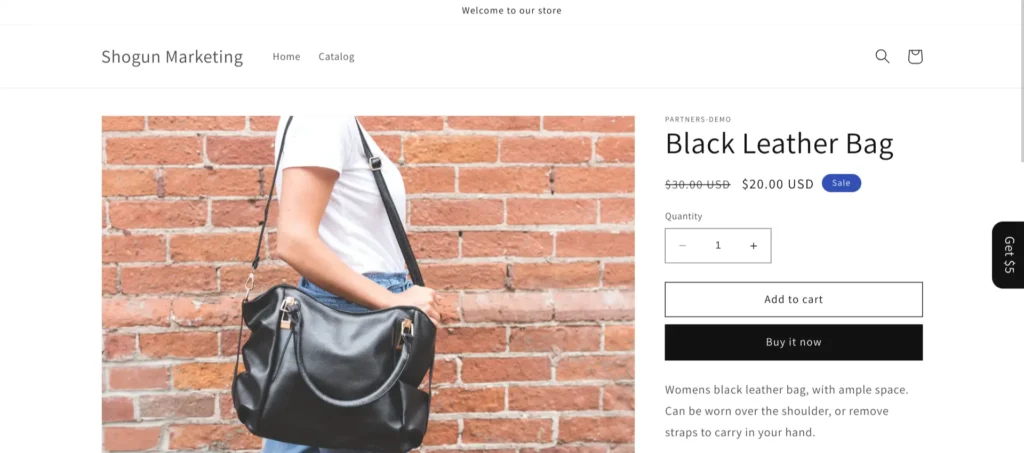
Depending on which theme you’re using, adding a discount with the “Compare-at price” field may trigger additional design elements to be added to your page indicating that the product is on sale. In this example, a blue icon labeled “Sale” was added next to the price of our discounted product (this happens automatically in Shopify’s default Dawn theme).
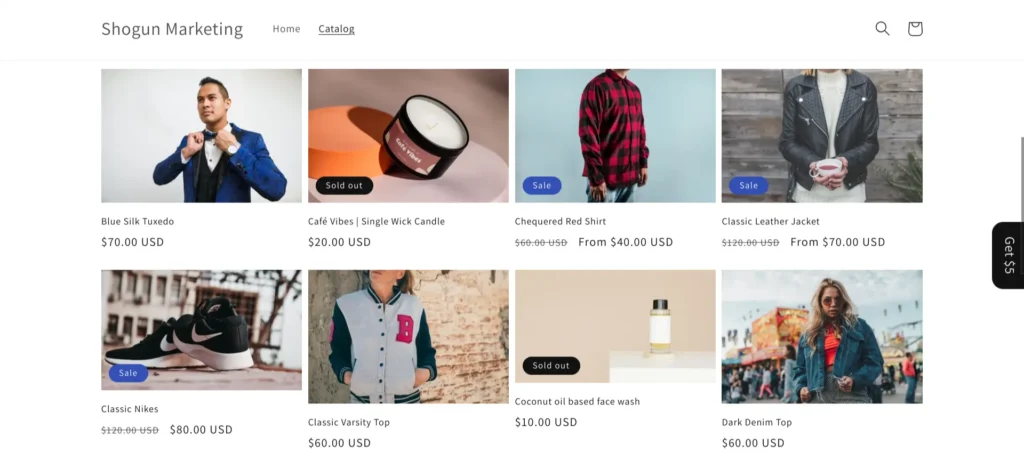
It’s also worth noting that when a single product has multiple variants, you can use this method to set separate discounts for each variant. Wherever a product with multiple variants is listed outside its product page, such as on a collection page or in a related products section, the price of the most affordable variant (with discounts applied) will be displayed.
Using Shogun to Show Product Page Discounts with Custom Elements
While Shopify does provide you with some basic options for showing discounts on your product pages, Shogun’s Custom Elements feature allows you to get much more creative.
The Shogun visual editor enables even the most non-technical users to design their own high-quality Shopify product pages from scratch. But just because coding isn’t required doesn’t mean it’s not allowed — with Custom Elements, you can use HTML/Liquid, CSS, and JavaScript to create your own reusable page sections within Shogun. Other users will then be able to edit the content of your Custom Elements without affecting its underlying code in the visual editor.
Code for adding product discount with a Shogun Custom Element
The code below contains Liquid and HTML. The HTML is used to add structure to your custom element.
The Liquid is used to display product details from your catalog:
<div class="product-card">
  <img class="product-image" src="{{product.images[0].src}}" alt="{{product.title}}" loading="lazy">
  <div class="product-info">
    <h3 class="product-title">{{product.title}}</h3>
    {% if product.variants[0].compare_at_price %}
      <span class="product-comparison-price">${{product.variants[0].compare_at_price}}</span>
      <span class="product-price">Now ${{product.variants[0].price}}</span>
    {% else %}
      <p class="product-price">${{product.variants[0].price}}</p>
    {% endif %}
  </div>
</div>
This next example of code is the CSS for the custom element. It applies styles to the product details, controlling its appearance on the live page:
.product-card {

  width: 300px;

  box-shadow: 0 4px 8px rgba(0,0,0,0.1);

  margin: 20px;

  display: inline-block;

  border-radius: 10px;

  overflow: hidden;

  transition: transform 0.3s ease;

}


.product-image {

  width: 100%;

  height: 200px;

  object-fit: cover;

}


.product-info {

  padding: 15px;

}


.product-title {

  margin: 0;

  color: #333;

  font-size: 18px;

}


.product-price {

  color: #666;

  font-size: 16px;

}


.product-comparison-price {

    color: red;

    text-decoration: line-through;

}
Overall, Custom Elements allow you to set yourself apart from the competition by creating truly unique online shopping experiences.
Create customized product page experiences with ShogunBuild unique Shopify product pages and discounts with Custom Elements Get started now

Phill Moorman
Phill, the VP of Marketing at Shogun, is a seasoned expert in ecommerce. With a keen focus on strategic marketing, Phill drives growth and cultivates brand success in the dynamic online marketplace.

